LOW PRICES & FAST DELIVERY

Installing Window Film

Tools & Fluids You Need for Window Film Installation

The right tools and fluids are crucial to successful window film installation – whether you're a handyman at home or a professional installer. We offer a handpicked range of tools and fluids that provide precision, control and successful results, from preparation to the final finish.

To install window film you will need:

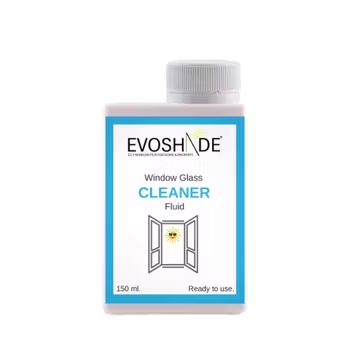
- Glass cleaner
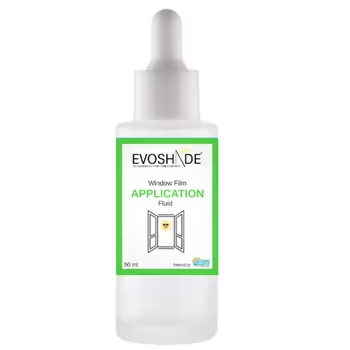
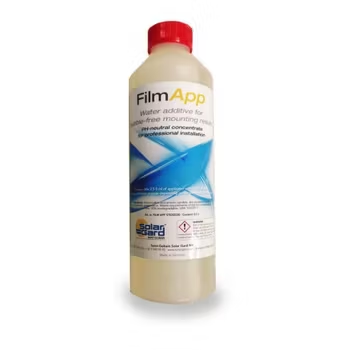
- Assembly fluid
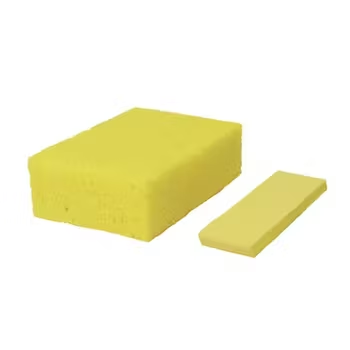
- Washing sponge
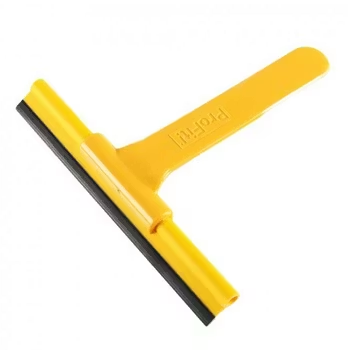
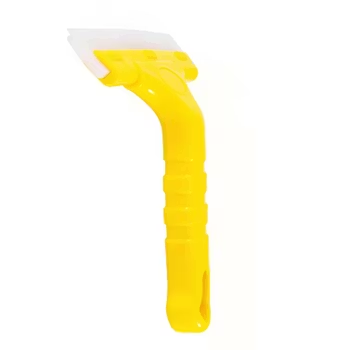
- Assembly scraper
- Glass scraper
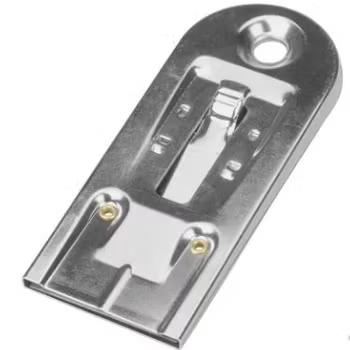
- Edge scraper
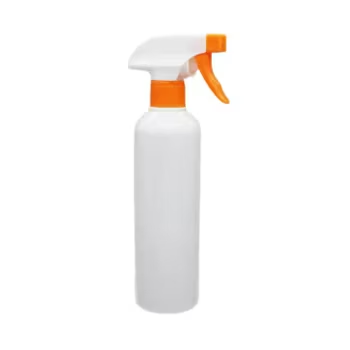
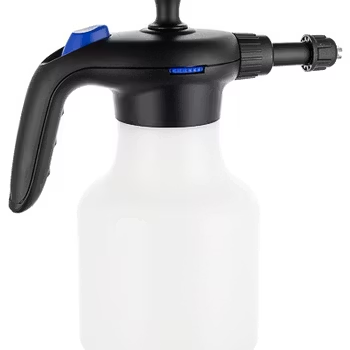
- Spray bottle
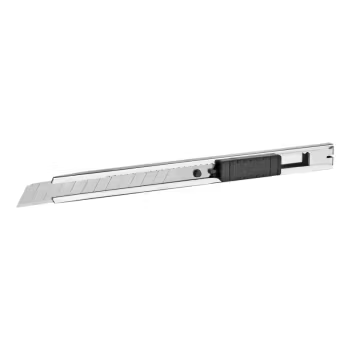
- Blade knife
- Drying cloth
- Patience & Good humor

Some of these tools and liquids for installing window film you may already have at home? Otherwise, you can supplement with what you need here.

If you want to be sure that you have all the tools you need when installing window film, we can recommend our own installation package EVOSHADE Tool Kit which contains all the tools you need - all in one package. It doesn't get any easier!

Before Installation – Preparations

When applying window film to glass panes in houses or flats, there are several important things to consider to achieve a long-lasting, neat, and effective result. Here’s an overview divided into before, during, and after installation:

  1. The right type of film for the right glass

    • Select film based on purpose: solar protection, privacy, safety, energy efficiency, or decoration.

    • Check the glass type – tempered, laminated or standard float glass. Some films can cause thermal cracking if combined incorrectly, e.g., with insulated glass.

  2. Cleaning the glass surface

    • The glass must be completely free of dust, grease, and cleaning residues.

    • Use, for example, isopropyl alcohol and a scraper/squeegee to achieve a spotless surface – including edges and corners.

  3. Temperature and environment

    • Ideal temperature: 10–25 °C (neither too cold nor too warm).

    • Avoid direct sunlight on the glass during application – it dries the solution too quickly.

    • No wind or dust in the air (for outdoor film).

🔧 During Installation – Step by Step 

NOTE! General description, please see our  Installation Guide for detailed instructions. 

  1. Use plenty of application solution

    • Apply a mixture of water and a few drops of washing-up liquid (or use a specialised solution).

    • Spray both the glass surface and the adhesive side of the film – this allows room to adjust the position.

  2. Attach the film from the top

    • Start from the top and work downwards, ideally with a helper if the film is large.

    • Use a plastic or rubber squeegee to press out liquid and air bubbles, from the centre outwards.

  3. Trim the edges precisely

    • Use a sharp knife or scalpel and a metal ruler for accurate edges.

    • Leave a small gap (~2 mm) between the film and the window frame to prevent peeling.

🧽 After Installation – Curing and Maintenance

  1. Let the film cure

    • The film can take up to 30 days (depending on weather and film type) to fully dry.

    • During this time, small bubbles or “haze” may appear – this is normal.

  2. Avoid touching the film

    • Do not clean or rub the film during the first month.

    • After that, clean with a soft cloth and mild soapy solution (no ammonia or abrasives).

⚠️ Common Mistakes to Avoid